Zapier: How To Connect Databox With The Investment Dominator
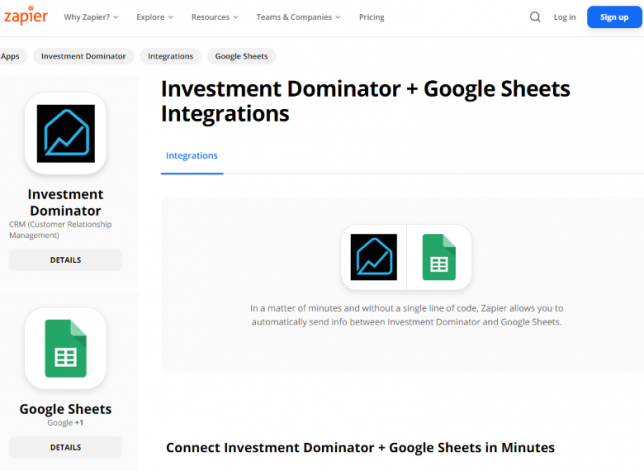
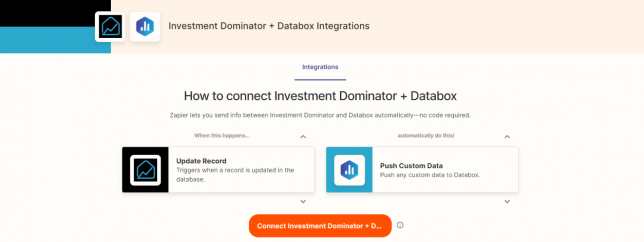
What Is Zapier? With Zapier you can easily connect and share data to and from the Investment Dominator with over 2000+ other web apps and saas systems. A complete app directory can be found at: https://zapier.com/apps In this article, we are going to explain how to connect the Investment Dominator to Databox, but first, let’s talk …
Zapier: How To Connect Databox With The Investment Dominator Read More »