Zapier: How To Connect The Investment Dominator To Facebook Pages

What Is Zapier?
With Zapier you can easily connect and share data to and from the Investment Dominator with over 2000+ other web apps and saas systems. A complete app directory can be found at: https://zapier.com/apps
In this article, we are going to explain how to connect the Investment Dominator to Facebook Pages, but first, let’s talk a little about Facebook Pages…
What is Facebook Pages?
Facebook Pages can become the voice of your business on Facebook. Build a community, find new customers, and increase sales.
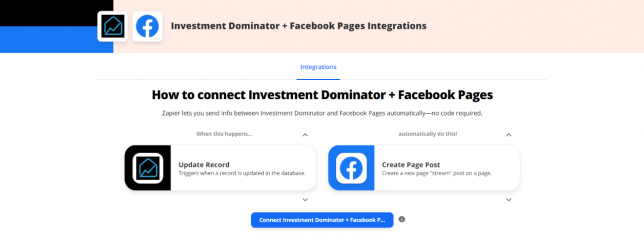
How To Connect The Investment Dominator To Facebook Pages
Step 1 – Create The Zap Workflow:
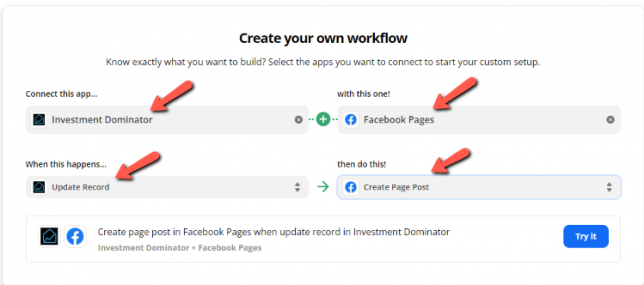
First, log in to Zapier.com, then from the dashboard and under the ‘Create your own workflow‘ section, search for “Investment Dominator” under the ‘Connect this app…‘ field.
Under the ‘with this one!‘ field search for “Facebook Pages“.
Under the ‘When this happens…’ field select ‘Update Record‘.
And under the ‘then do this!‘ field select ‘Create Page Post‘:
Click the ‘Try it‘ button to continue with the setup.
Step 2 – Connect To Your Investment Dominator CRM:
Click on the ‘Sign in to Investment Dominator‘ button and then in the allow popup, enter in your API Key and App URL then click the ‘Try Connection‘ button.
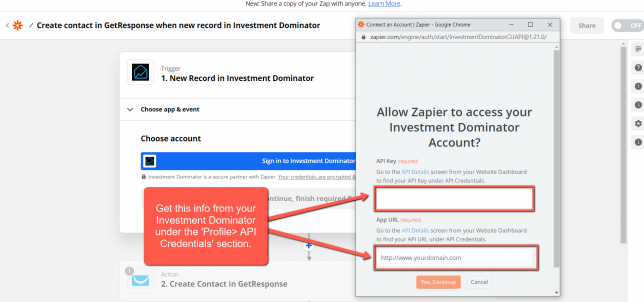
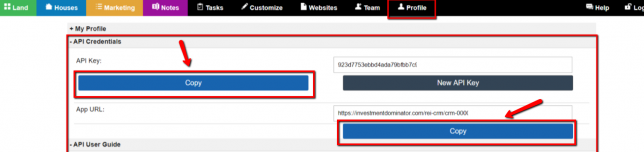
NOTE: You can get both your API Key and App URL by logging into your Investment Dominator account as an Admin (with API Permissions enabled) under the ‘Profile> API Credentials‘ section.
Hit the ‘Continue‘ button on Zapier to keep going with the setup.
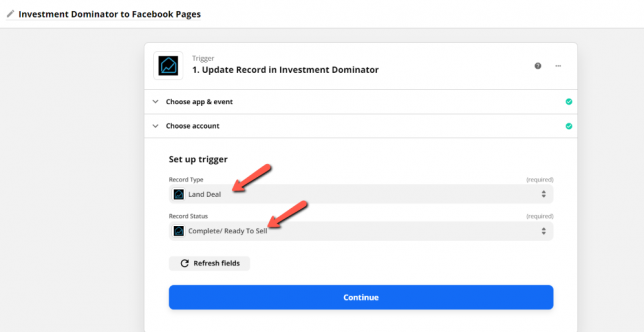
Step 3 – Setup The Zap Trigger
Under the ‘Record Type‘ field select ‘Land Deal‘.
Under the ‘Record Status‘ field select ‘Complete/ Ready to Sell‘.
Click the ‘Continue‘ button to progress to the next step:
Click the ‘Test Trigger‘ button to pull a test record from your Investment Dominator. If there is an error at this point make sure you have a record under the Complete/ Ready to Sell Status.
If everything looks good, click the ‘Continue‘ button twice to progress to the next step.
Step 4 – Connect Your Facebook Pages Account
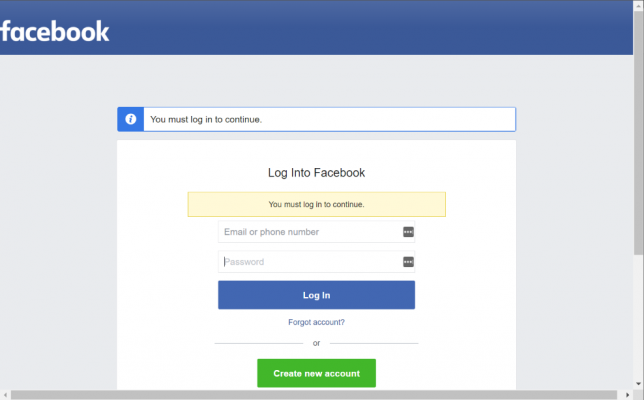
Click the ‘Sign in to Facebook Pages‘ button then enter your Login information into the popup window when it appears.
Then just allow access for Zapier to integrate with your Zap.
Step 5 – Setup The Action
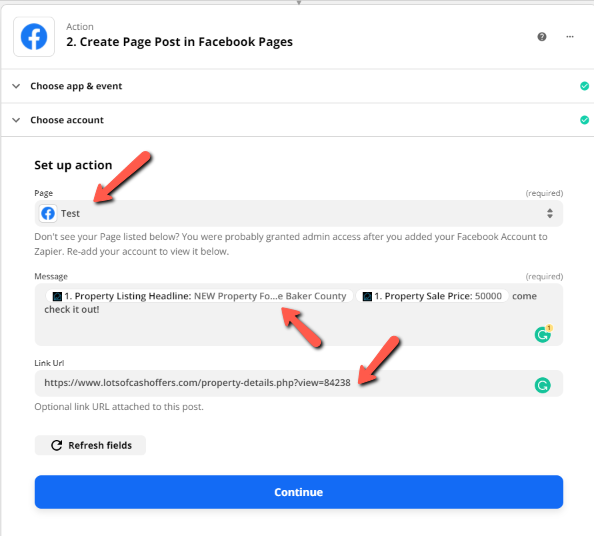
Now you will need to select the required Page that you will be using to post on. If you do not have one already you should create it now before you continue.
Also, note that the Message field is also required.
You can see in this example I took information from my Investment Dominator such as Property Listing Headline: and Property Sale Price: this can be any information relevant to your post.
Lastly, it is optional, but you can also provide a link to your listing or just your selling site whichever you choose.
Complete this mapping processes for every field that you would like to transfer data from then click the ‘Continue‘ button at the bottom of the page to progress to the next step.
Click the ‘Test & Continue‘ button.
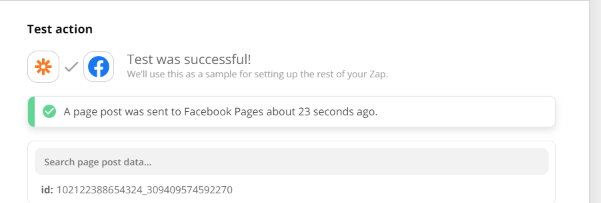
If all goes well you will see a message “Test was successful”.
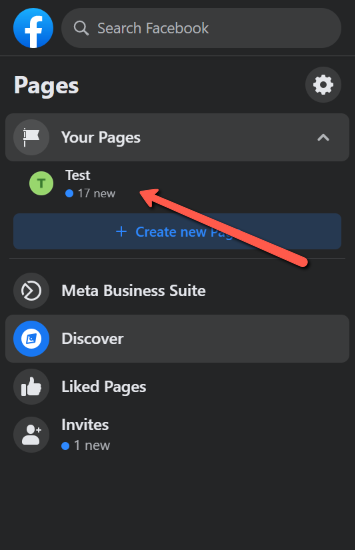
At this point go into your Facebook account and click on your page

Then you should see your most recent post is one which is “Published by Zapier”
Head back to Zapier and click the ‘Turn on Zap‘ button to complete the process.
Hooray! Now, when a new property is ready to sell in your Investment Dominator CRM A post will be sent to your page alerting your userbase!