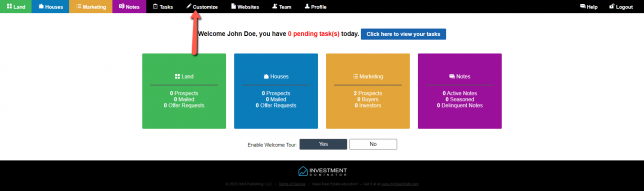
So now that had the chance to understand the default deal process and then create our own custom statuses now the last part of this walkthrough is about custom documents. Log into your Investment Dominator and click on the customize like so:
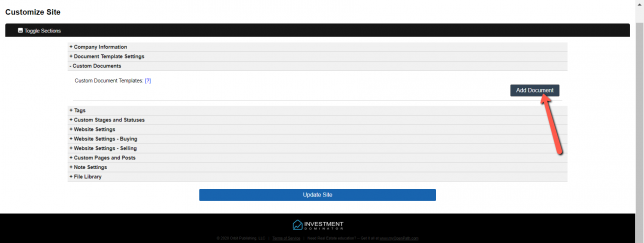
From this point find the section called ‘Custom Documents‘ and click ‘Add Document’ then we can begin the steps in order to create our first custom Document
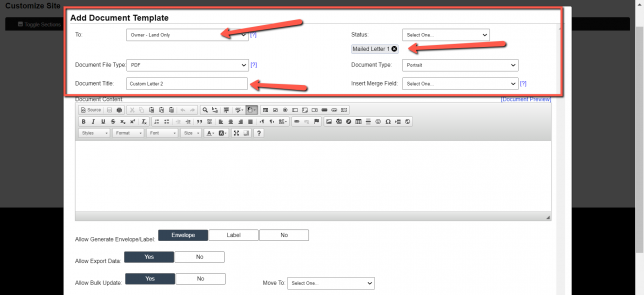
You will be prompted with this menu and first, we are going to focus on the fields highlighted in the red box. Following the previous articles for the ‘To’ field stick with the ‘Owner – Land Only’ option, the next ‘Document File Type‘ should be PDF for the most accessible option. ‘Document Title’ should be called Custom Letter 2 and ‘Status‘ should be ‘Mailed Letter 1’. The last section will be ‘Document Type’ will be portrait since this is a letter. Do not worry about the insert merge field tab just yet.
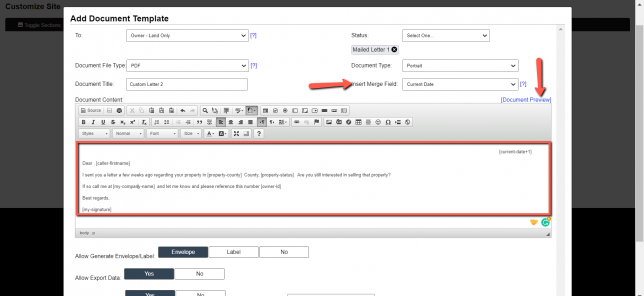
So now we can focus on the actual document which in the picture above I have provided an example message of what you could send to your prospects after ‘Mailed Letter 1’. You may notice some words are in brackets like this [] this is because of the ‘Insert Merge Field‘ which can provide you easy access to prefilled information on your prospects and for your own company information too. Once you are done you can hit document preview and you will get see something like this:
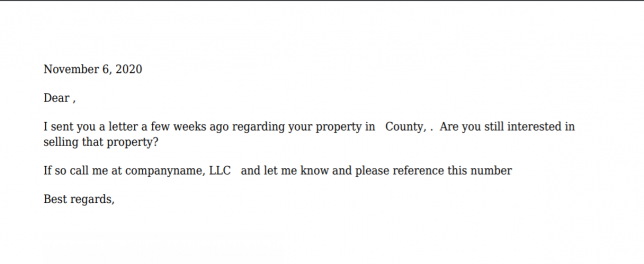
Please note this is just an example and your document will have prefilled information that will be added in by the ‘Merge field option’.
At the top of the page, we have the status set to ‘Mailed Letter 1’ but now we are taking this and creating a document for ‘Mailed Letter 2’
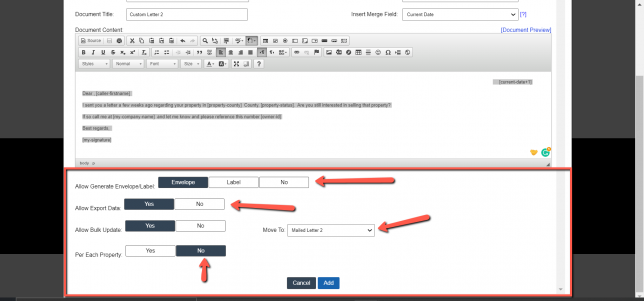
Once you are done writing the document you must now take a look at the following fields. For ‘Allow Generate Envelope Label’ click Envelope because we are sending letters and for ‘Allow Export data’, we want to say yes. Then ‘Allow Bulk Update‘ yes as well. Now, this is important for the ‘Per Each Property’ we want to say ‘No‘ because it will go to just the owner since they could have multiple properties.
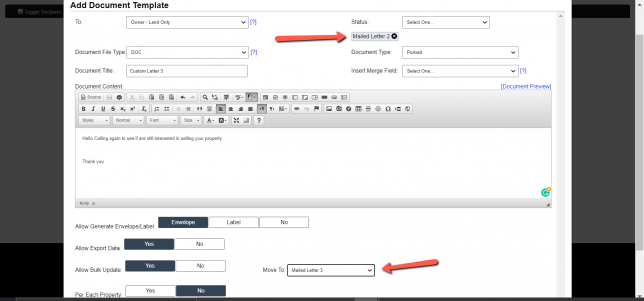
Now following our example from before we will create a process connecting the Status of ‘Mailed Letter 2’ to ‘Mailed Letter 3’ finishing our process for creating custom documents.

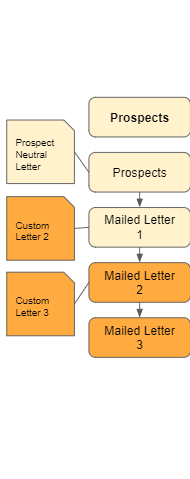
We have now created custom Statuses as well as custom documents allowing for flexibility in our letter and really anything we would want to customize. As you can see the Orange is the ‘Custom Statuses’ and or ‘Custom Documents’ that could be created. If you missed any of the steps of this please check out ‘How to Manage Offer Campaigns – Part 1‘ Also if you find yourself to be a visual learner please check out the walkthrough video below.