The Investment Dominator CRM comes with two websites built right into the system. Our built-in pages, from the beginning, are preloaded with content that we have tested and used ourselves. And while you can edit the look and feel of the content as well as the and content itself of the built-in pages, sometimes there is a need to add additional pages to further improve your website. Additional pages could include an FAQ’s page, a Privacy and Terms page, or even a Blog, all of which you can build using our Custom Pages and Posts options.
Create A Page
- To create a new custom page first, go to Customize> Custom Pages and Post and click on the ‘Create Custom Page‘ button.

- There are two types of pages you can create, one is a Single Page and the other is a Blog Page. Single pages are just static pages that do not reference posts, while blog pages display Posts in ascending order. Select the page type that you would like to use under the ‘Page Type‘ drop-down.

- Change the ‘Page Status’ to Public if you would like the page accessible to the public.NOTE: This option will not add the custom page to your website menus, to do that reference the following articles…https://user-guide.investmentdominator.com/how-to-customize-the-buying-website-menu/https://user-guide.investmentdominator.com/how-to-customize-the-buying-website-menu/Enter in a page name under the ‘Page Title‘ field. By default, the system will use your ‘Page Title‘ as a base for the ‘Page URL’; however, you can overwrite this value with a custom Page URL of your choosing.Select the header menu you would like to display for this page under the ‘Page Menu‘ option.
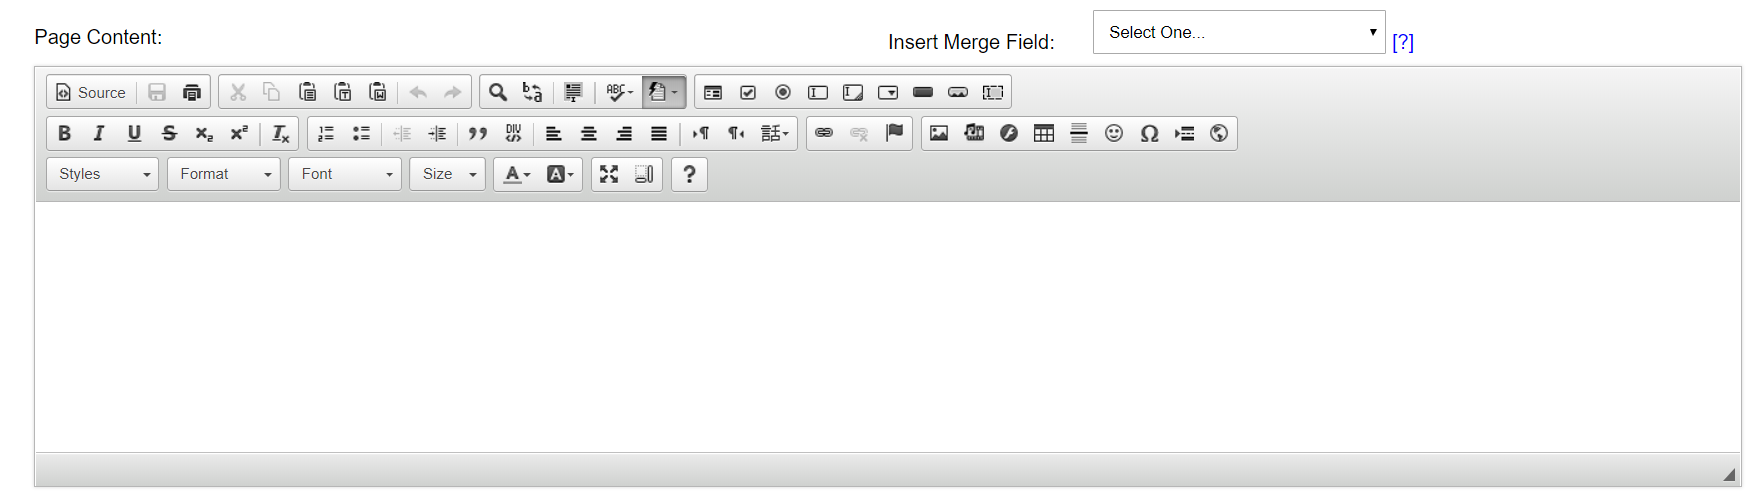
- Under the ‘Page Content‘ area enter in the content of the page. Use the WYSIWYG options above to change the styles of the content, or to add media to your pages like images and videos.
You can pull in content from your database dynamically by selecting a Merge Field under the ‘Insert Merge Field‘ dropdown. For example instead of simply typing in your company’s phone number, use the merge field called [my-company-phone] this will display your company’s phone number, but also automatically update it if you ever change the number under Customize> Company Information.
- Under the ‘Page Tracking Code‘ area, you can enter in tracking code snippets from services such as Google Analytics, Google Tag Manager or Facebook Ads. You can also enter in custom CSS style tags. Anything entered in this area is placed within the <head> tags of the page.

- You can choose whether to display a Logo at the top of the page and if so which one (your buying site logo, or your selling site logo).You can choose whether or not to display the banner area at the top of the page and if so what text you would like to display on top of the banner.
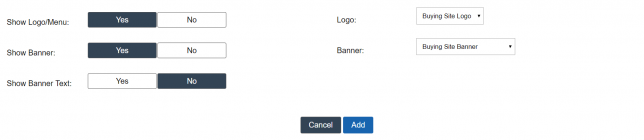
- When you are done creating your custom page click the blue ‘Add‘ button to save the page.
Create A Post
- To create a post (that is attached to a Blog Page – See above) go to Customize> Custom Posts and Post and click on the ‘Create Custom Post‘ button.
- Under ‘Post Type‘ you can choose to create either a ‘Single Post‘ which is good for creating blog entries or articles, or you can select the ‘Merge Post‘ option to create a post template that references data dynamically from your Land Deals, House Deals, or Buyers List. If you select the ‘Merge Post‘ option you only need to create one post template and then the system will dynamically create a new post for each record in the system the meets the criteria you select.
Enter in a page name under the ‘Post Title‘ field.Under the ‘Add To Page‘ drop-down select the Blog Page(s) (See above) that you would like to add this post to.

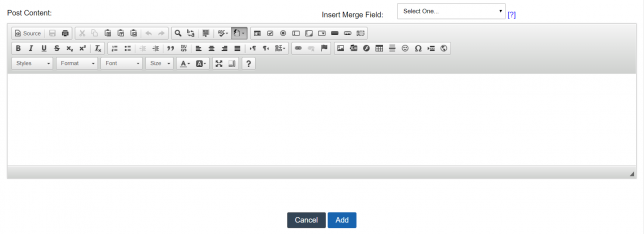
- Click the blue ‘Add’ button to save the post.
NOTE: There is a limit of 50 total Pages you can have in the system