
There are a couple of ways to add video to your property listing. One way is to simply upload the video to a public video-sharing and hosting platform like YouTube or Vimeo, then copy the share/embed code that they generate for you and paste it under the source tab of the Property Listing> Listing Long Description field. You can do this by, clicking the ‘Edit Source‘ link below the HTML editor for the Listing Long Description field.
Step 1: Upload And Attached A Video To Your Property Record
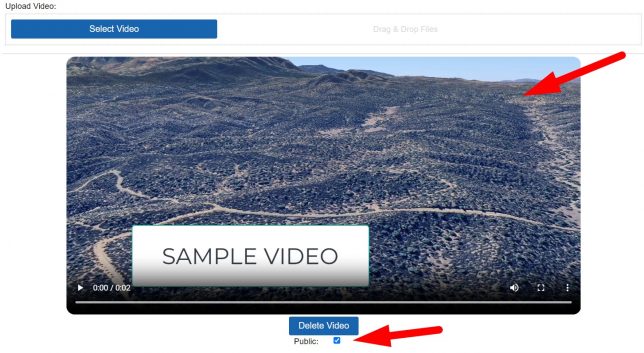
If you do not want to use a platform like YouTube or Vimeo that’s ok too. Investment Dominator has a ‘Upload Video‘ option that you can utilize. To use this feature first upload a video file to your property record under the ‘Property Listing> Upload Video‘ area for at least one of your properties that you have posted on your Selling Site:

Once the video file has been uploaded make sure the ‘Public‘ permission is checked:

Step 2: Create A New Property Listing Element To Display Your Listing Videos
In step 1 you uploaded and attached a video to your property record but at this point, for most of you using one of our built-in themes, the video will not automatically display yet on your Selling Site property listing. To get the video to display you need to make sure to add a video display element to your listing page. Here’s how to do that:
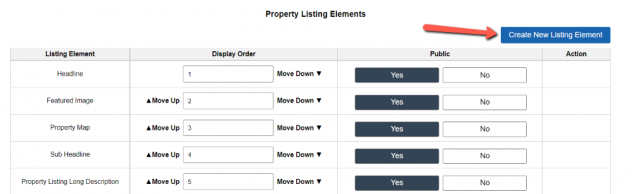
Navigate to the Customize> Website Settings – Selling> Property Listing Elements section and click the blue ‘Create New Listing Element‘ button:
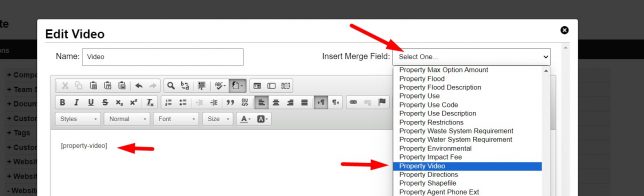
Now add a name for the listing element like “Video” under the ‘Name’ field.
Click the ‘Insert Merge Field‘ dropdown and select the ‘Property Video‘ option. This will add the [property-video] merge field tag to the element editor:
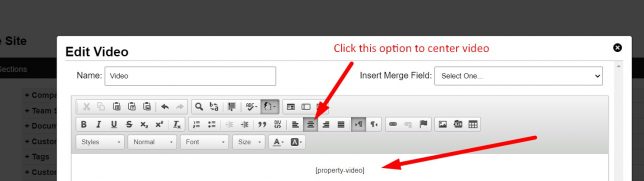
If you would like your videos centered on the listing page, then highlight the [property-video] tag and click the Center option:
Once you’re done, click the blue ‘Update’ button.
The new custom element will display at the bottom of the Property Listing Elments table which indicates where the video player will actually display on your listing page. So if you would like to move the position of where the video displays, simply click the ‘Move Up‘ or ‘Move Down‘ options until the element is in your desired display order:
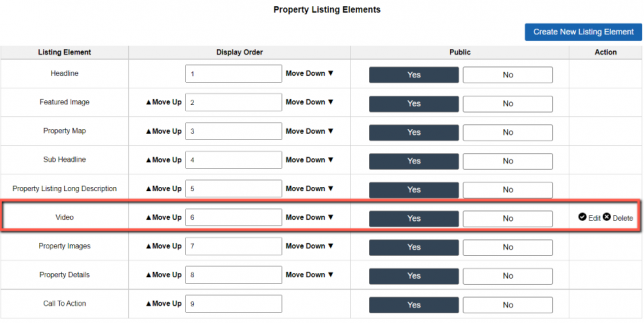
In this example, we set the video element to display right below the Property Listing Long Description.
Under the ‘Public‘ column, click the ‘Yes‘ option to make this new custom page element live.
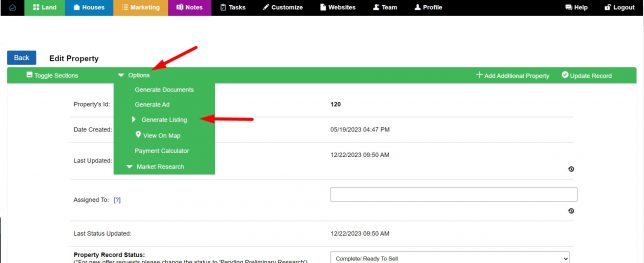
To preview your new updates go to the property record where you uploaded the video in Step 1 of this article, then select ‘Options> Generate Listing‘ from the top menu:
Scroll down to below your property description and you should now see the video you have posted:
NOTE: You only need to complete step 2 of this article once.